
 Nederlands
 Deutsch
 Français
This comprehensive guide covers each step, ensuring a smooth and straightforward setup experience. Whether you are a beginner or an experienced user, this guide provides clear instructions, helpful tips, and troubleshooting advice to help you successfully configure and use SafeNode with your VeWorld application.
Follow this guide to enhance your digital security and streamline your SafeNode setup process effortlessly.
📱 How to Setup SafeNode
(For VeWorld users)
Notes
Before you import or restore a wallet, make sure to:
- Install the Comet browser extension
- Download the SafeNode app from the appropriate store.
- SafeNode Google Play Store (for Android)
- SafeNode Apple App Store (for iPhone)
It’s also worth knowing the difference between importing your wallet and restoring your wallet:
- Restore: via your seed phrase
- Import: via your private key or keystore file
Step 1. Backup VeWorld mnemonic phrase (seed/backup phrase)
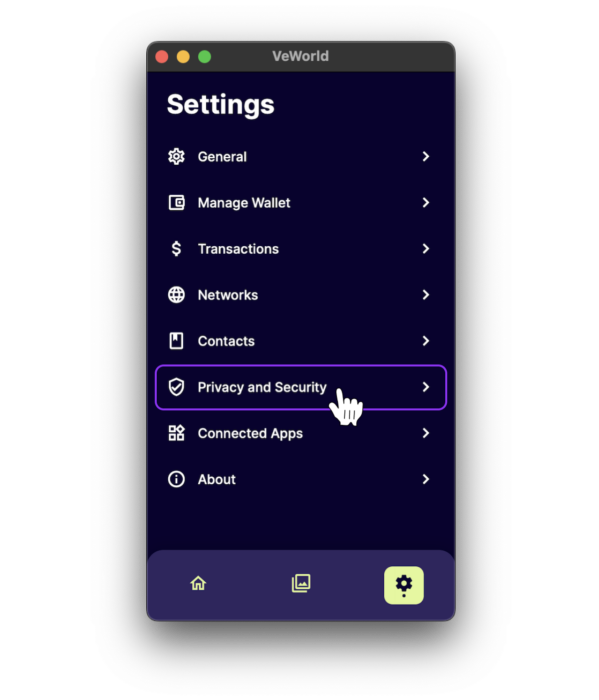
1.1. Open your VeWorld app and tap the ⚙️ Settings icon.

1.2. Locate and tap Privacy and Security within the Settings menu.
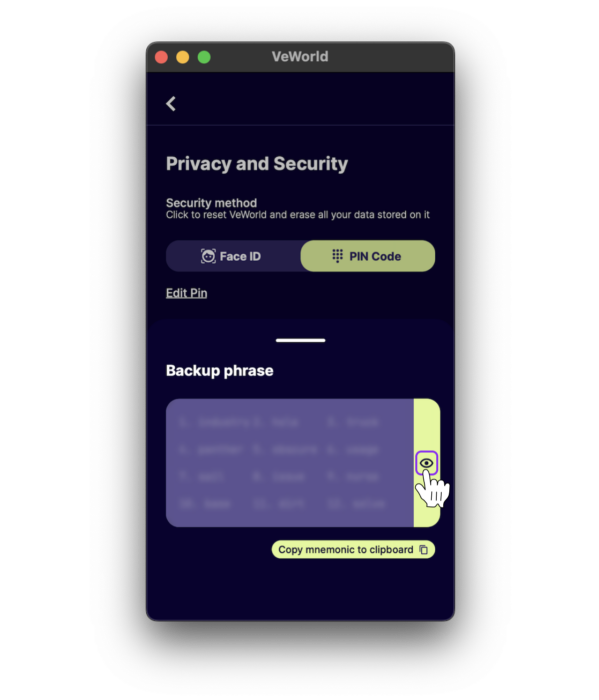
1.3. Tap Backup your mnemonic phrase. For security, you will be prompted to insert your 6-digit pin.

1.4. Press the 👁️ eye icon to reveal your mnemonic phrase (seed/backup phrase).
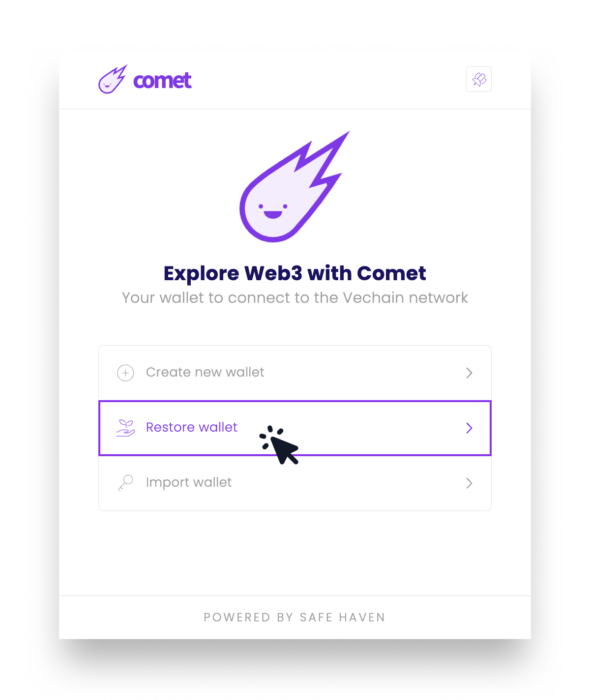
Step 2. Restore wallet in Comet wallet
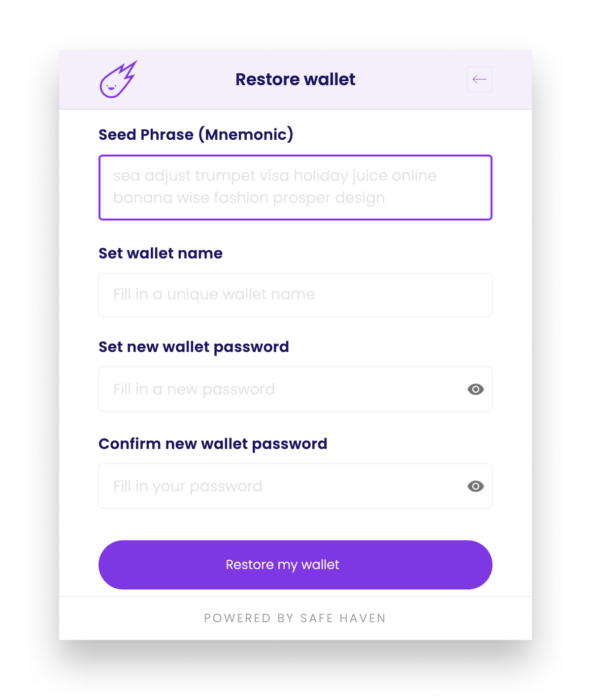
2.1. Open the Comet wallet browser extension and click the Restore wallet button.
2.2. Enter your mnemonic phrase that you revealed in the VeWorld app.
TIP: Remember to carefully check the spelling and order of the words in your mnemonic phrase.
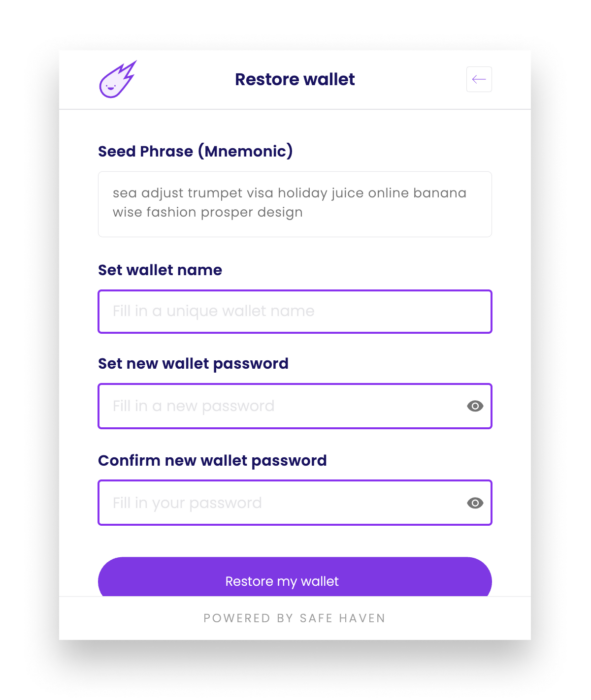
2.3. After carefully entering your phrase you must complete the remaining steps by assigning a wallet name and setting and confirming a new wallet password.
TIP: A secure password contains a mixture of upper/lowercase letters, numbers, symbols and is at least 16 characters long.
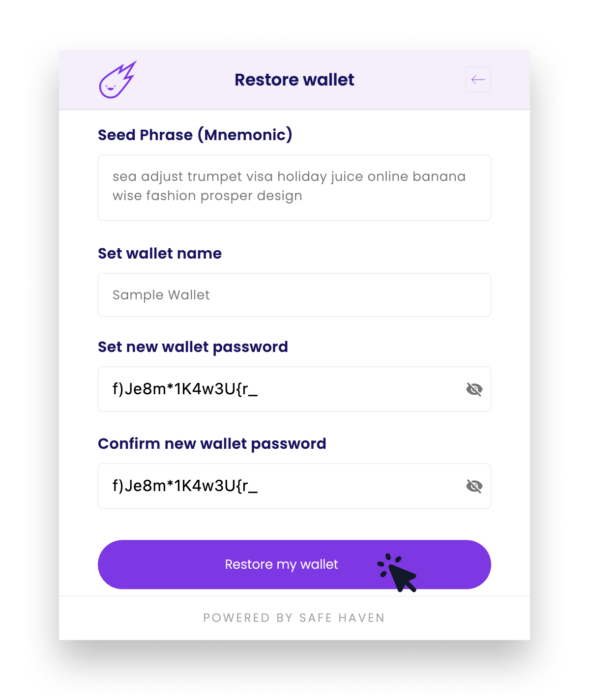
2.4. Once you have completed the required fields, click the Restore my wallet button to finish the restoration process.
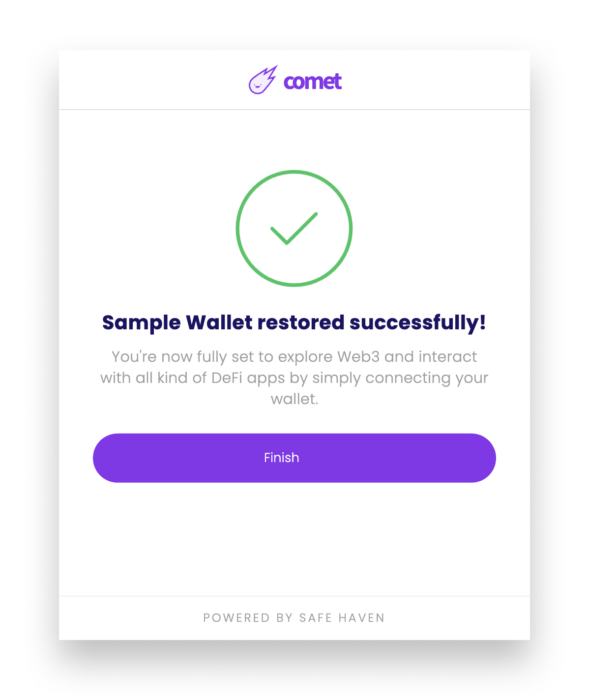
2.5. Congratulations! You have successfully restored your wallet.
Step 3. Export Keystore
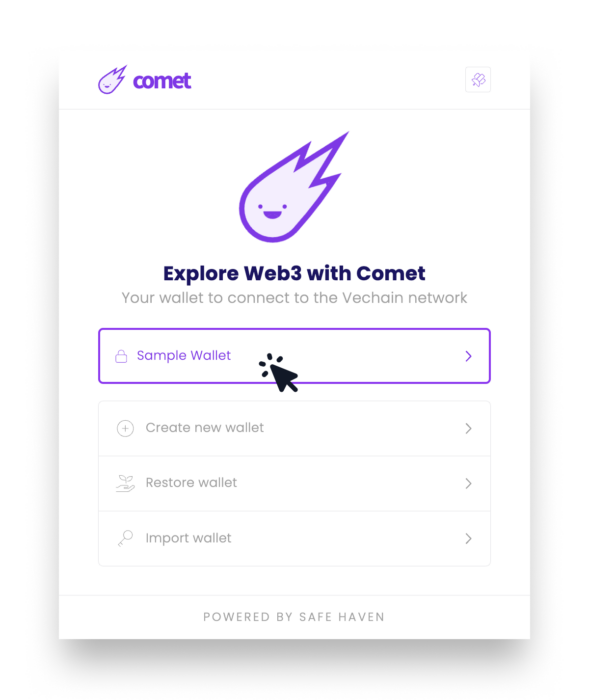
3.1. Open the Comet wallet browser extension and click your recently restored wallet.
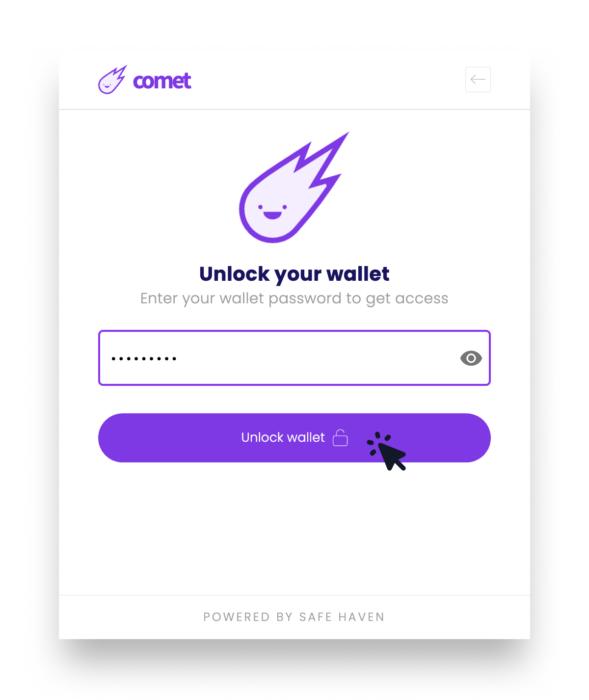
3.2. Input your wallet password and then click the Unlock wallet 🔓 button.
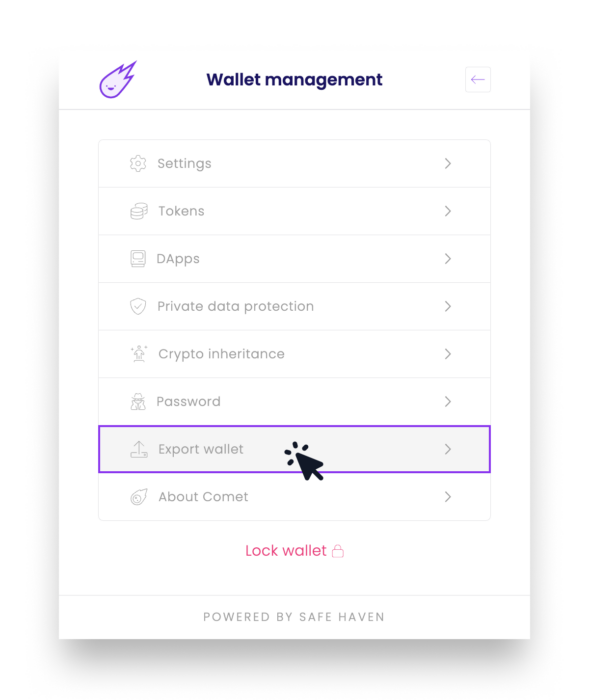
3.3. In the top right corner, click the three dots icon to open the Settings menu.

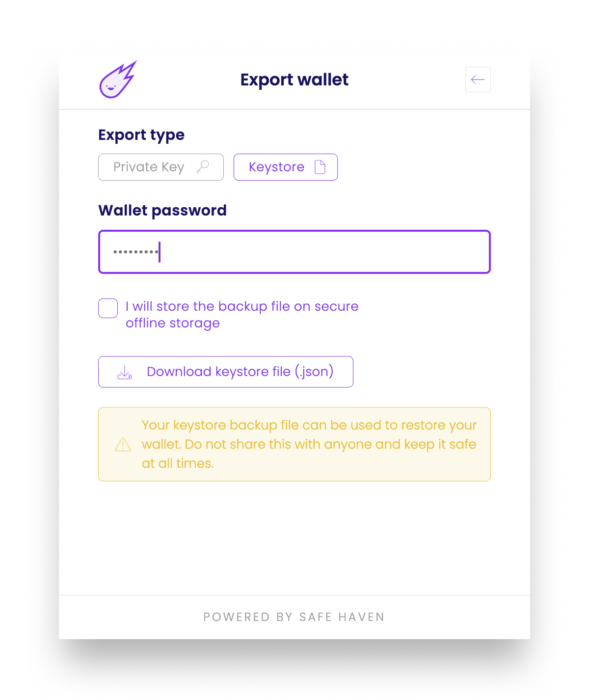
3.4. Locate and click Export wallet within the Settings menu.
3.5. Under the Export Type heading, click Keystore. 
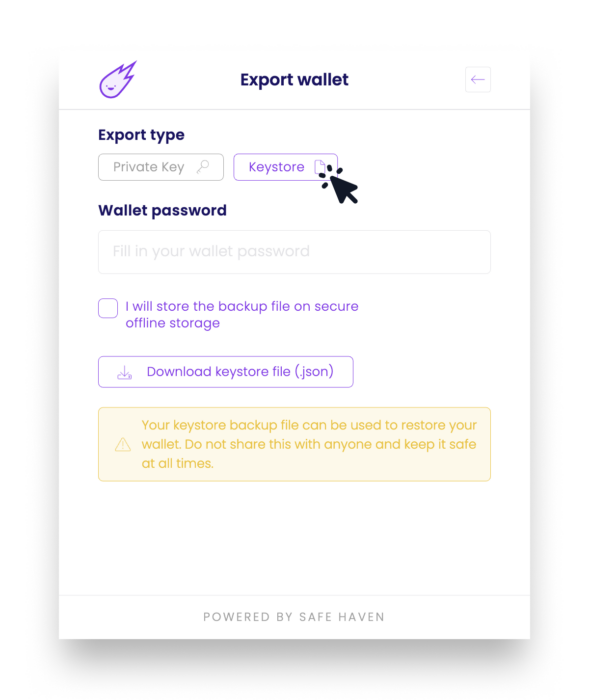
3.6. Input your wallet password.
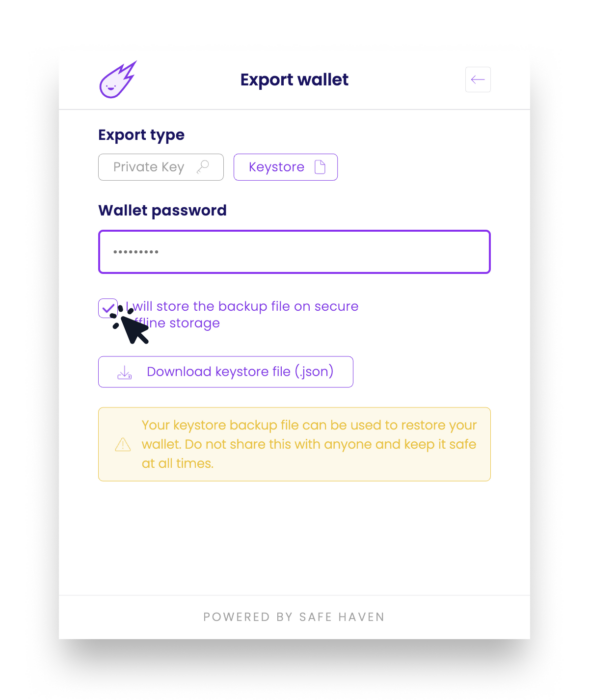
3.7. Click the checkbox to acknowledge that you will store the backup file on secure offline storage.
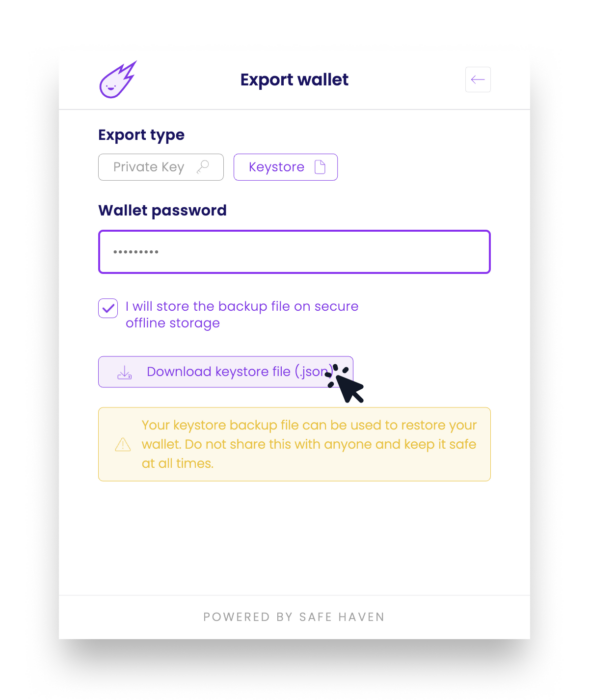
3.8. Click the Download keystore file (.json) button to download the file on your device.
Step 4. Copy Keystore contents
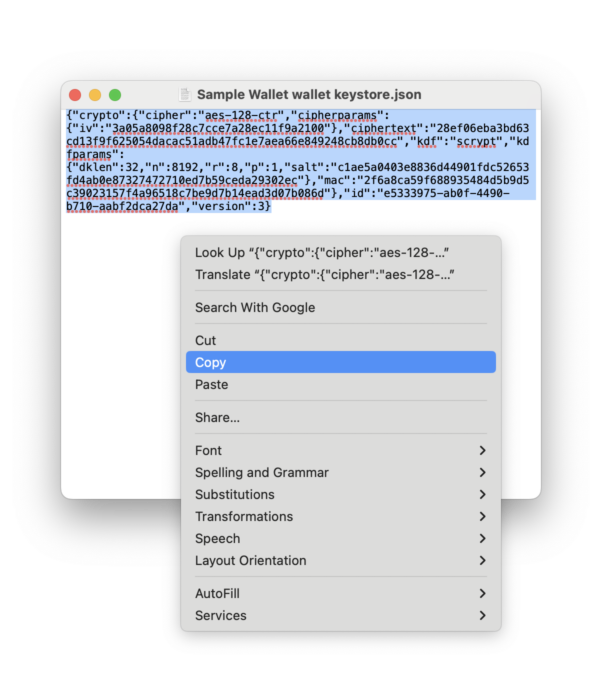
4.1. Locate and open your recently downloaded Keystore .json file with your preferred text editor application.
TIP: Apple users can right click on the file, click Open with and choose TextEdit. Windows users can right click on the file, click Open with and choose Notepad++.

4.2. Select all the contents, right click and Copy.
Step 5. Import Keystore to SadeNode
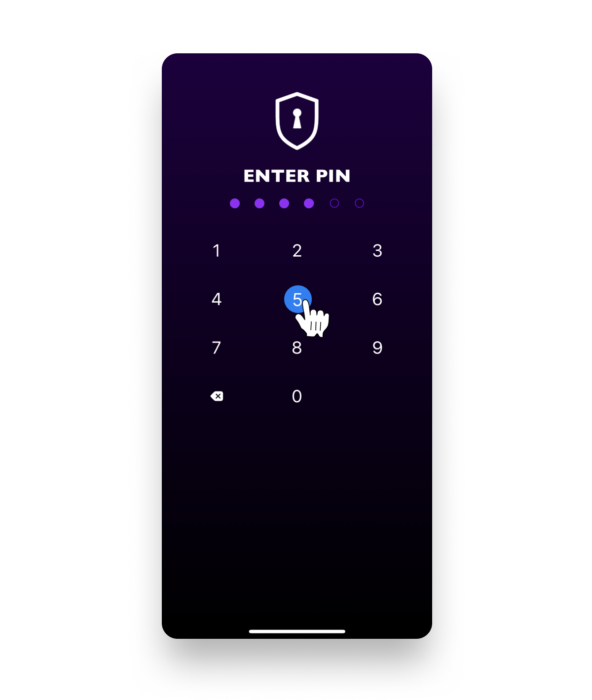
5.1. Open the SafeNode app and set a 6-digit PIN. Re-enter this PIN to Sign In.
TIP: This PIN will be used to access your wallet each time you use the app.
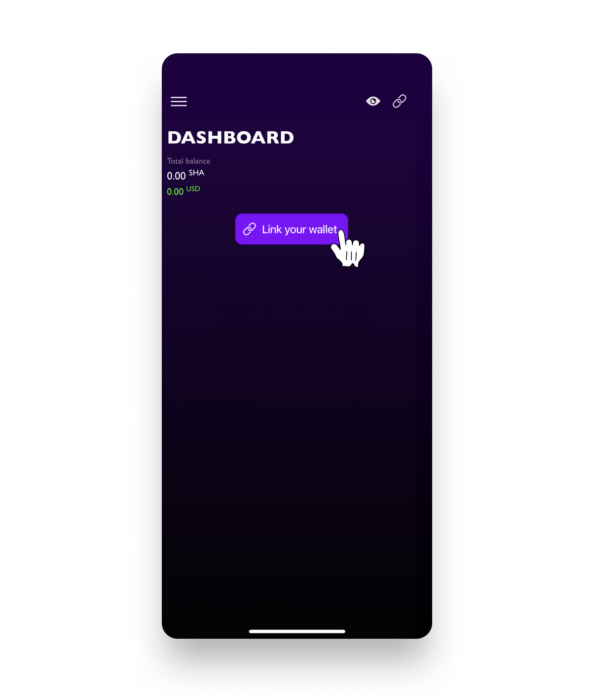
5.2. Click the Link your wallet button.
TIP: Click the 🔗 Connect icon to import an additional wallet to your existing setup.
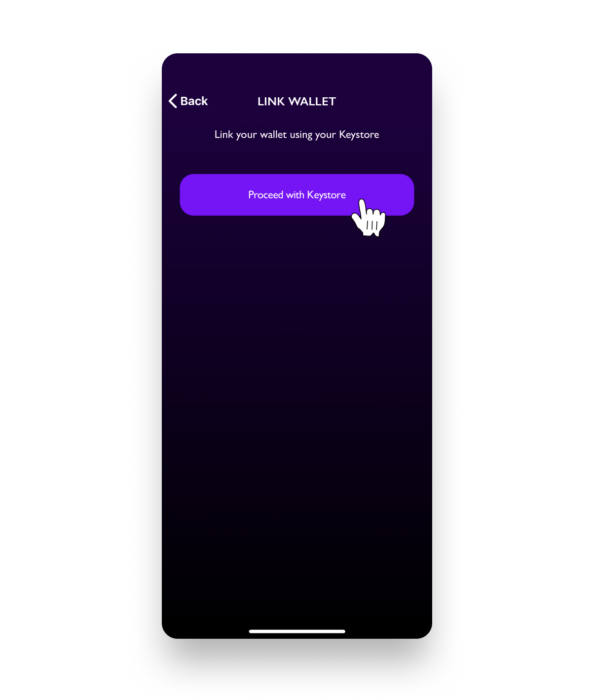
5.3. Click the Proceed with Keystore button.
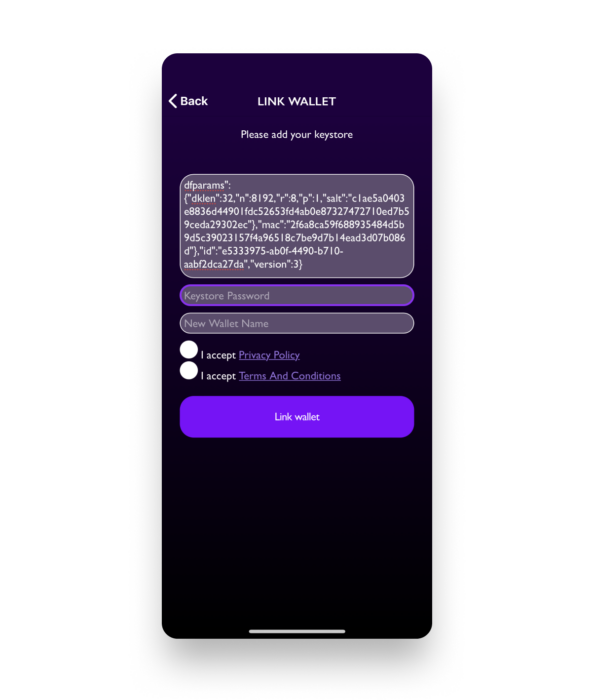
5.4. In the Keystore Content field, paste the contents copied from the exported Comet wallet Keystore file.
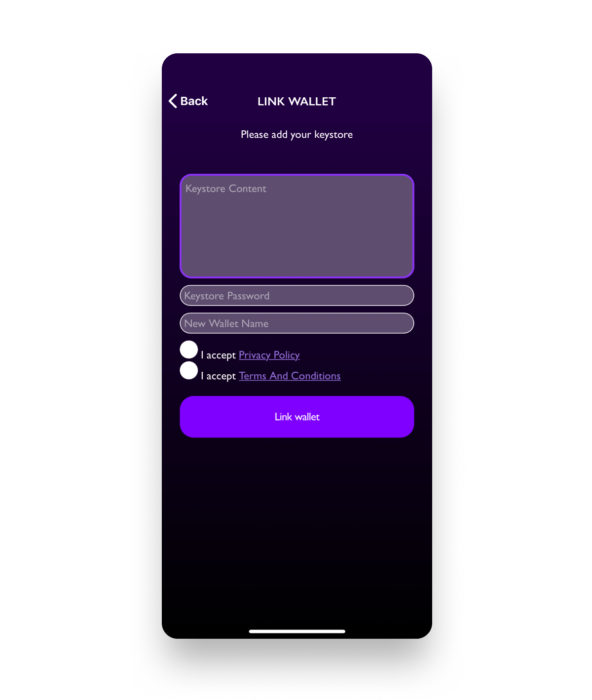
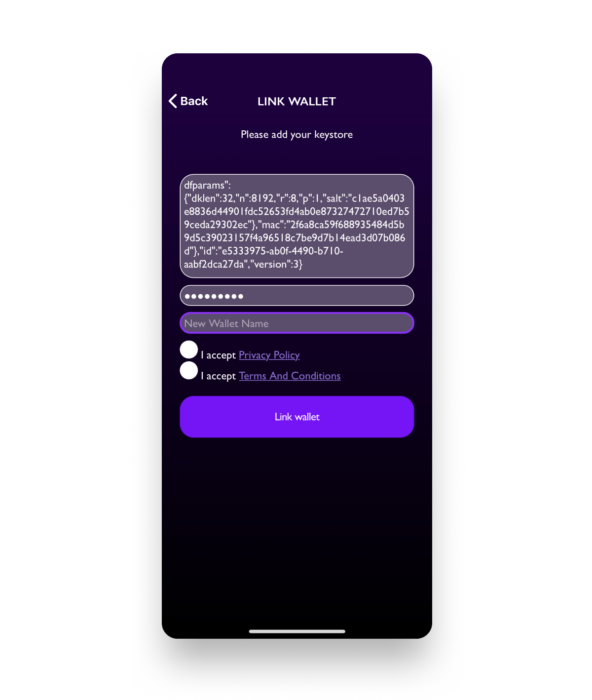
5.5. Input the Keystore password.
HINT: The Keystore password is the password to unlock your Comet wallet (where you exported the Keystore file from).
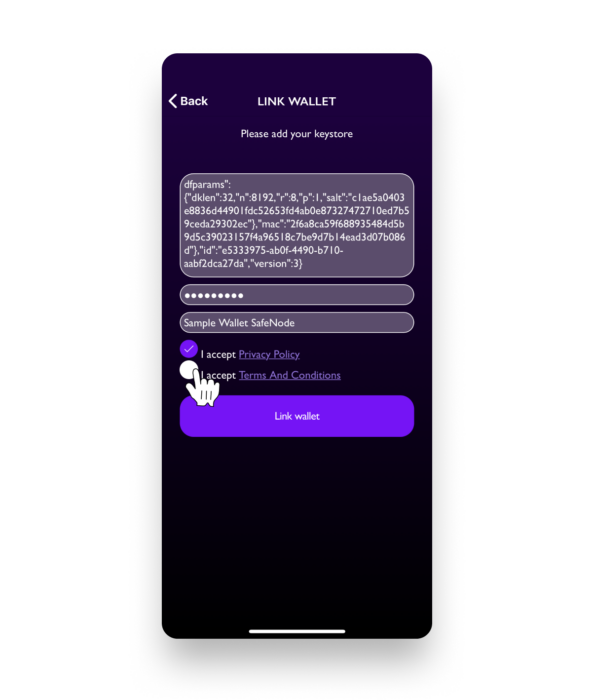
5.6. Set a wallet name.
5.7. Accept the Privacy Policy and Terms and Conditions by selecting the checkboxes.
5.8. Click the Link wallet button.
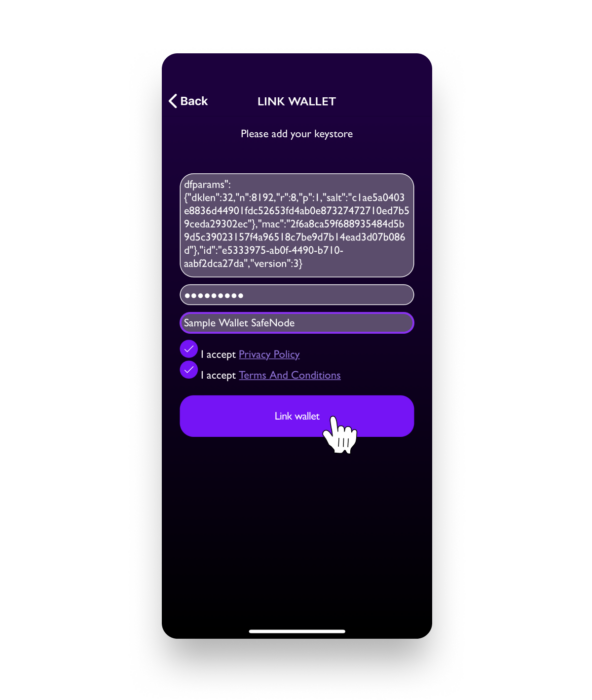
✅ Congratulations! You are ready to setup a new node or view your existing node.
💬 Need assistance? Connect with our team and community.
Back to news