
 Nederlands
 Deutsch
 Français
As we’ve already mentioned a few times in the past weeks, you can expect a small buildup to create awareness prior to the release of our SafeSwap platform.
The teasers below are a first step towards finalizing the release of SafeSwap V1.
But first, how’s the audit going and how close is the release of V1?
We’re aware the community is patiently waiting for the audit results, and so are we.
At this moment it is known that Red4Sec is still auditing the SafeSwap code. To date, we have not been alerted to any security concerns and the audit is progressing successfully. Further, we have also asked Red4Sec to specifically consider recent bridge-attacks, like those employed during the Wormhole exploit, in addition to what is considered ‘best practices’ in terms of security and audit procedures. Our additional requests are to ensure the integrity of both our platform and the extended integrity of those partners that may integrate SafeSwap into their project/ ecosystems.
The SafeSwap release is thus still pending the results of the SafeSwap audit. If something should arise, please know that it will be dealt with immediately and the process will continue. Our #1 concern remains -and we can not stress this enough- the safety and security of the users, and the integrity of our products.
We are expecting the final report any day and as said: we’re as excited as you are.
That said, we’d also like to take this opportunity to throw out some teasers of the platform already.
It’s the least we can do to thank you for your patience.
SafeSwap V1 – A closer look
Initiate your swap
In order to be able to perform a swap, you’ll have to configure some settings first.
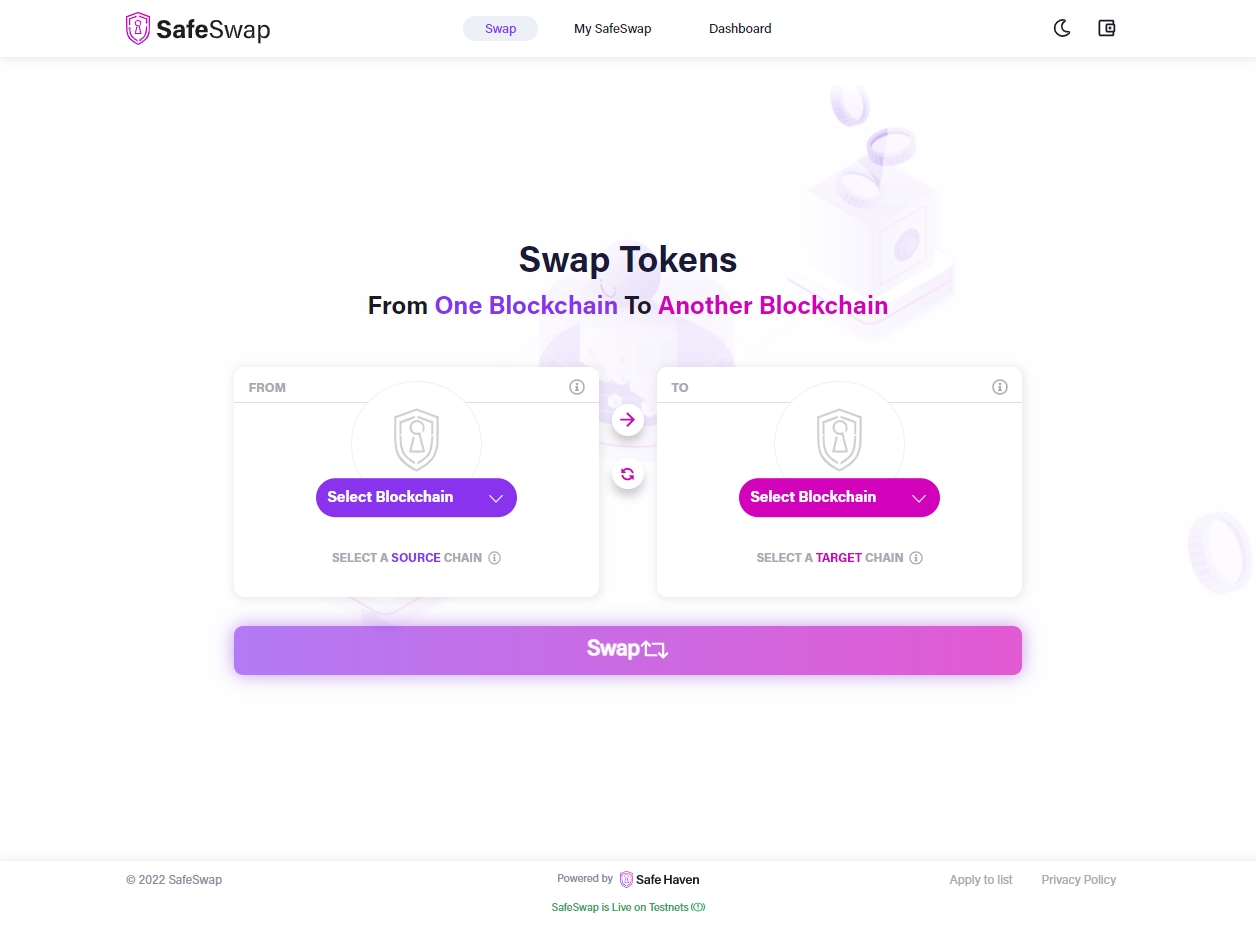
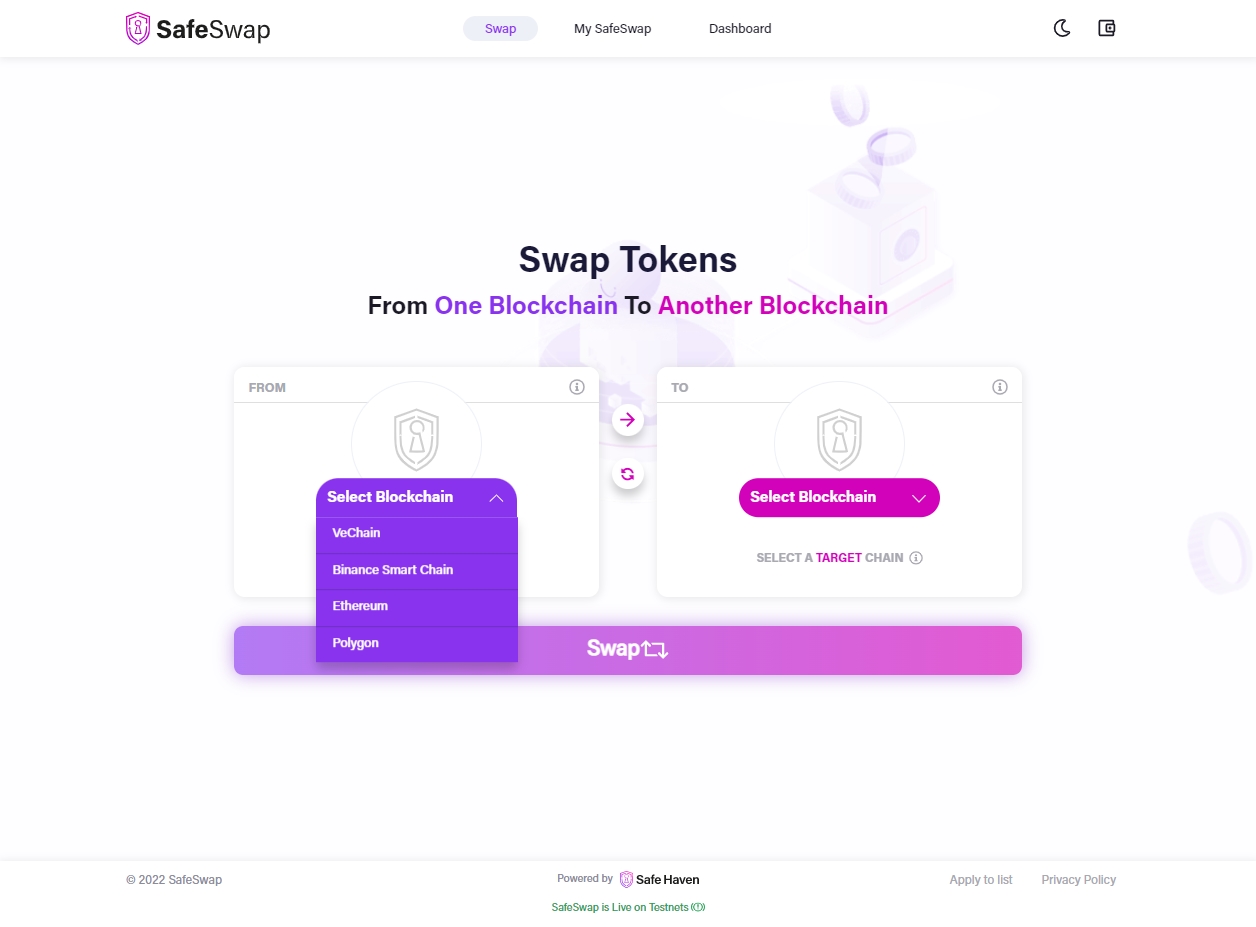
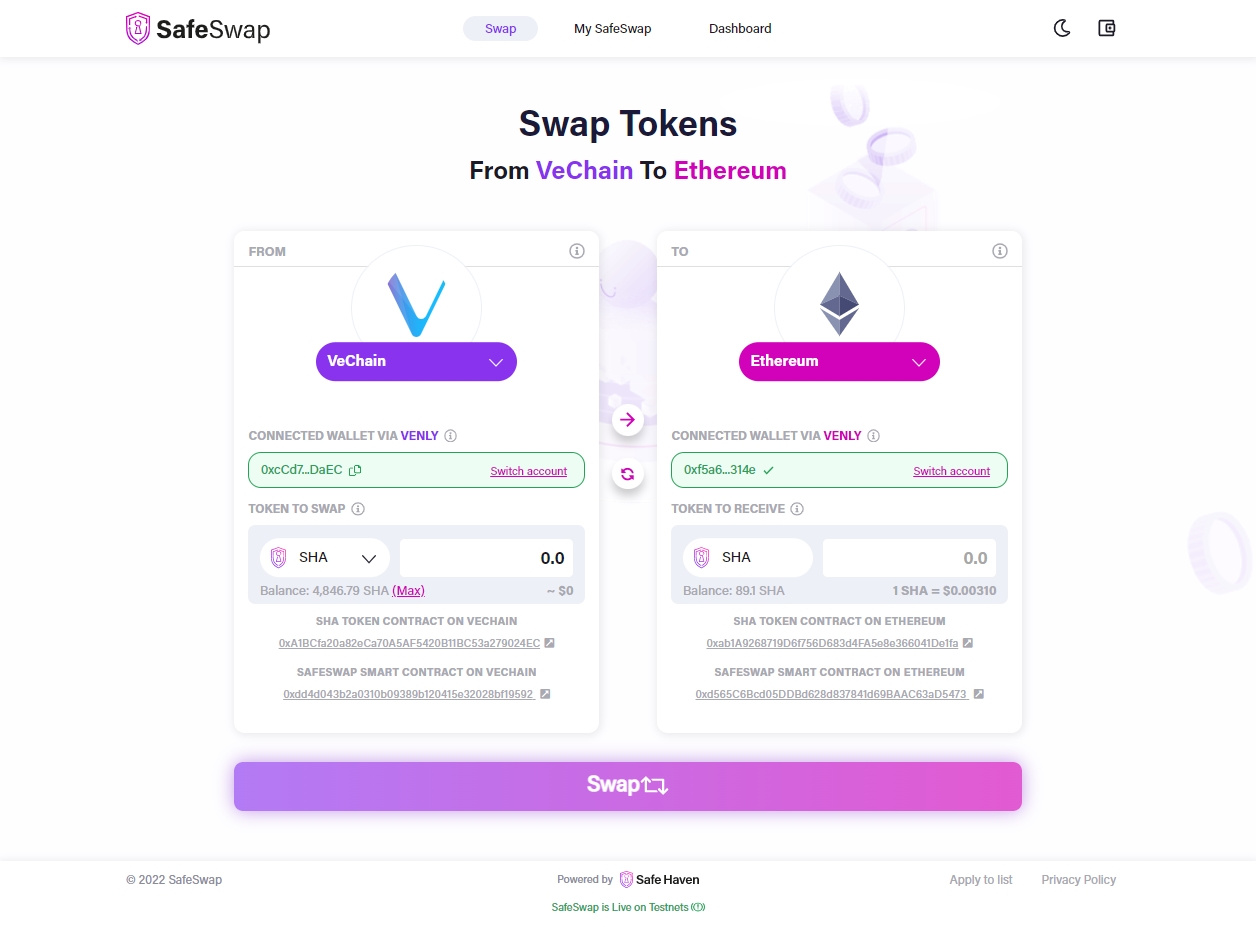
The first step is to select the source blockchain. In other words, the blockchain where the tokens you want to swap currently are stored. In this example we’ll be selecting vechain, since that’s where the native SHA tokens are living.
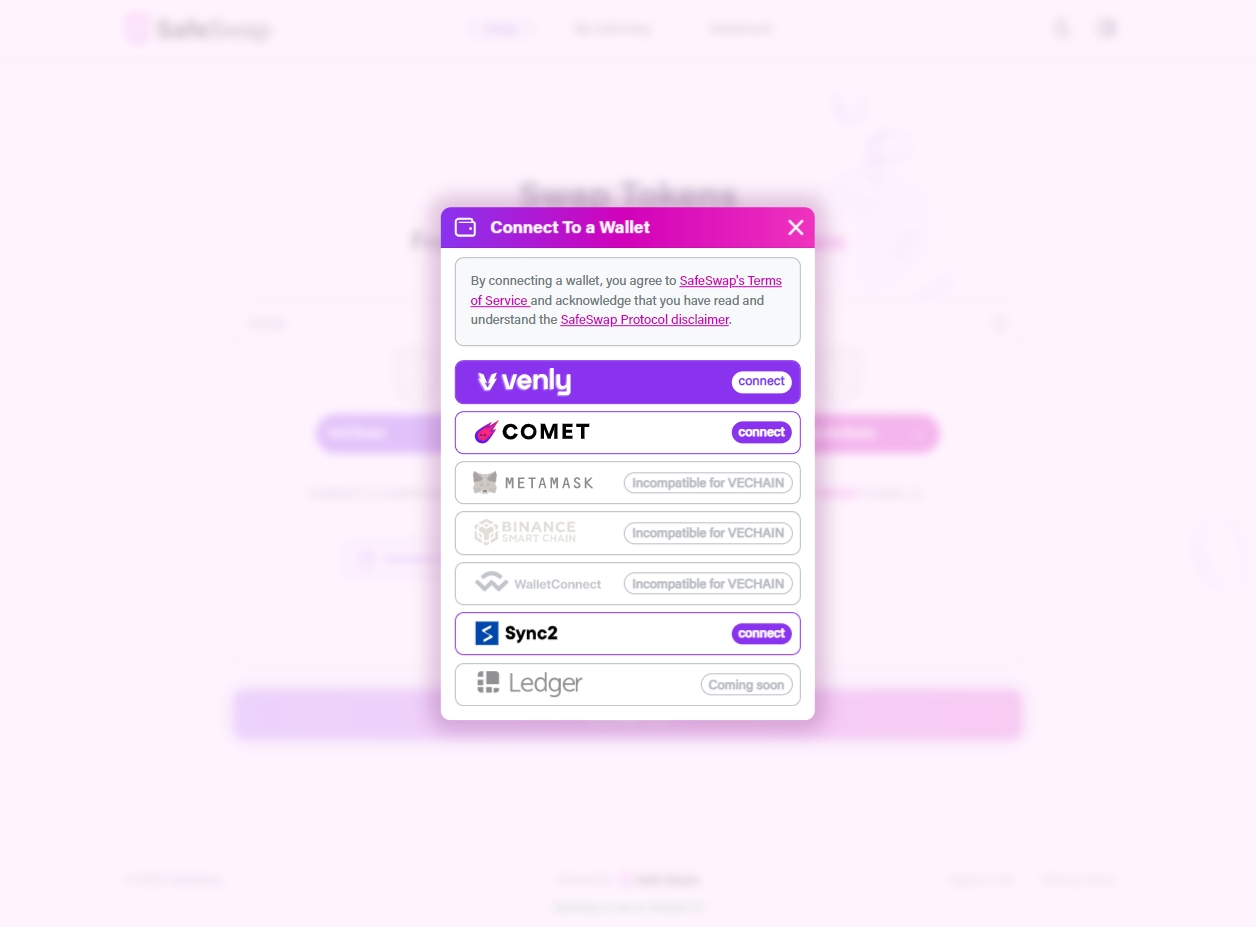
Next, you want to connect a compatible wallet. In other words: the wallet where your tokens are stored.
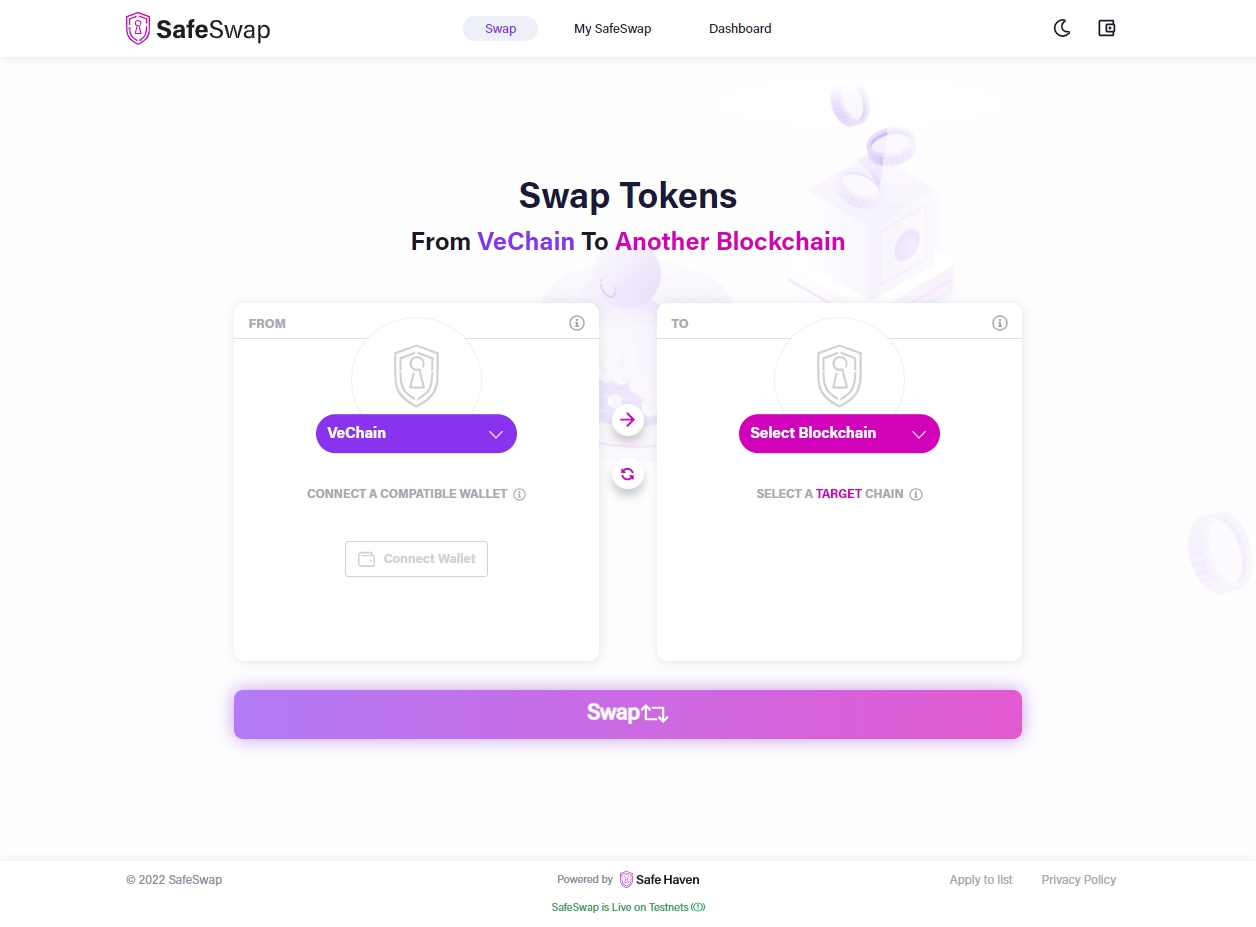
As you see we’ve got quite a few wallets integrated already in SafeSwap V1, but not all of them are compatible with your selected source chain. We made sure you can only connect the compatible ones.
We’ll select the Venly wallet, since this one is compatible with our selected source chain vechain and holds the tokens we want to swap.
Once your preferred wallet is connected, you’ll be able to select the token you want to swap and you can fill in the amount of tokens you want to swap.
We’ll also display the token contract address and the SafeSwap smart contract address for the selected chain, so you can always verify the data.
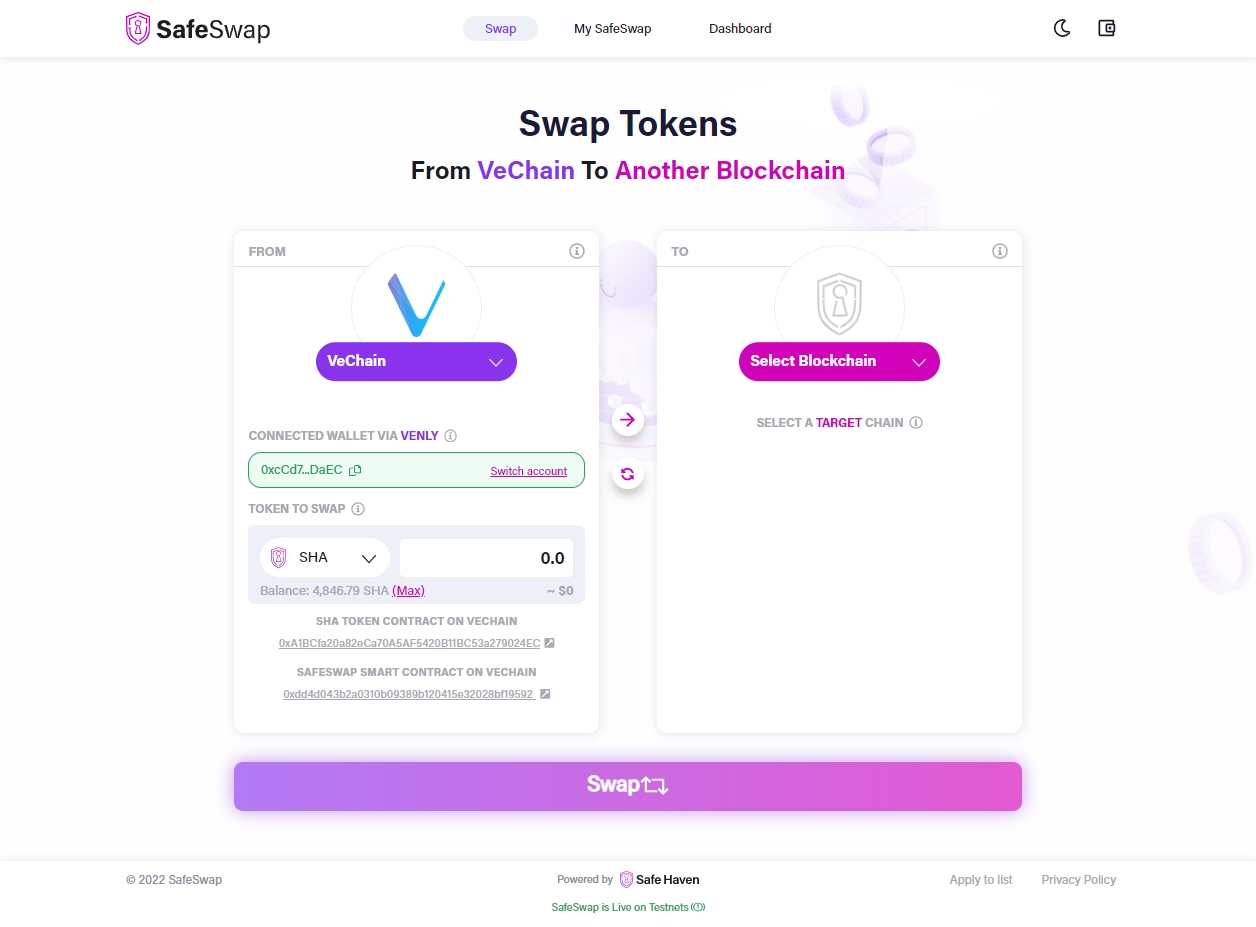
Now that all source settings are configured, it’s time to do the same for the destination settings.
We’ll select Ethereum as the preferred destination chain in this example, thus we’ll be swapping our SHA VIP180 tokens to SHA ERC20 tokens.
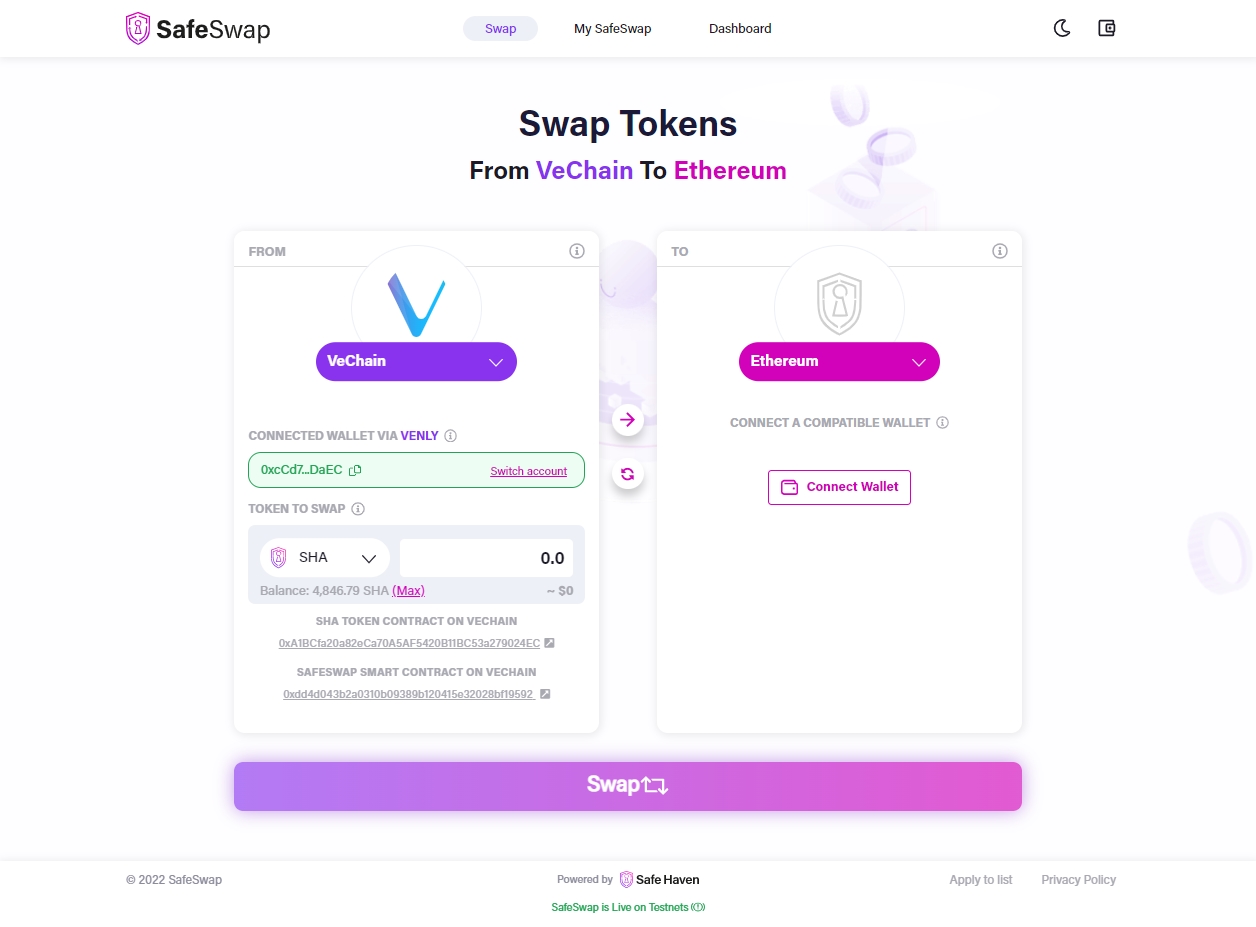
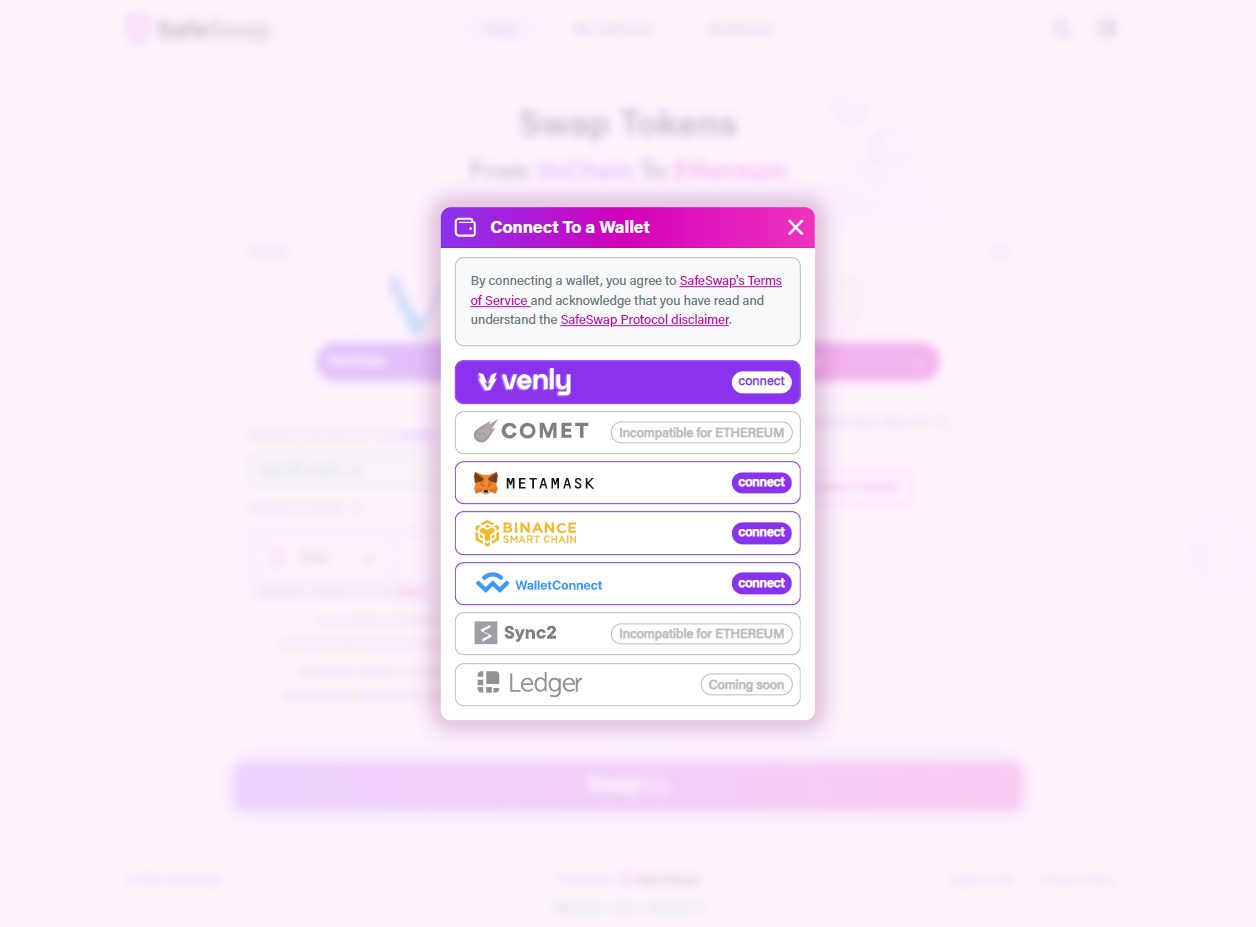
Since the Venly wallet is a multichain wallet, we’ll be able to select it as the wallet to receive our tokens on the destination chain too, same as our source wallet. But you can select your own preferred ERC20 compatible wallet, as shown on the screenshot below.
The tokens you’ll be receiving on the destination chain will of course be the same tokens as you’ve already selected on the source chain.
Ready to swap
Once you’ve put in all your selected settings, you’re ready to swap and the SafeSwap routing will be generated.
If you’re ready for it, click the big “Swap” button.

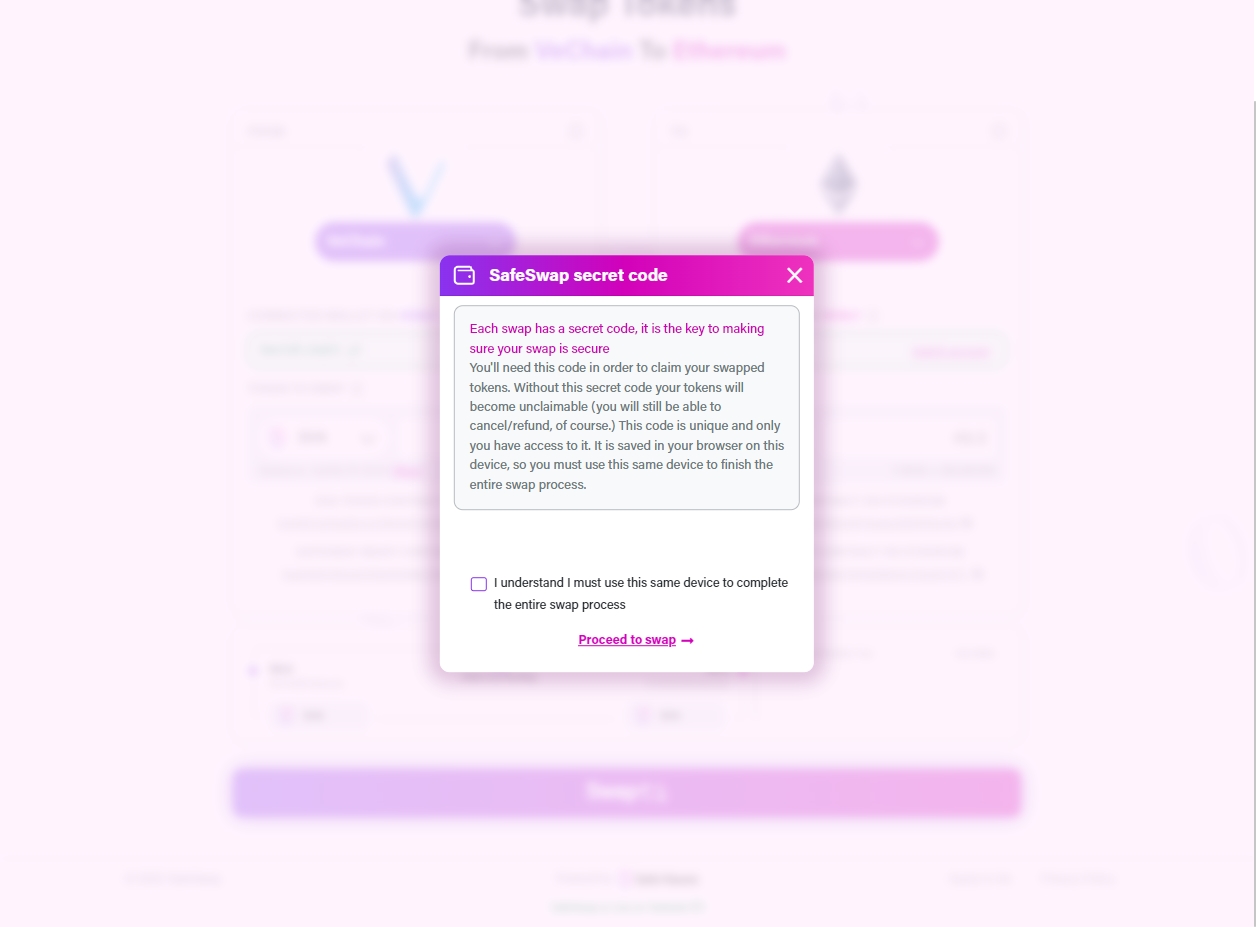
In order to make your swap as secure as possible, SafeSwap has an additonal security layer where each swap has a secret code. We’ll get more into detail of this over time, but it comes down to this: to be able to claim your tokens on the destination chain and with the selected wallet, it is very important to use the same device during the whole swapping process. You’ll not be able to claim on another device.
Once ready, we click “Proceed to swap”.
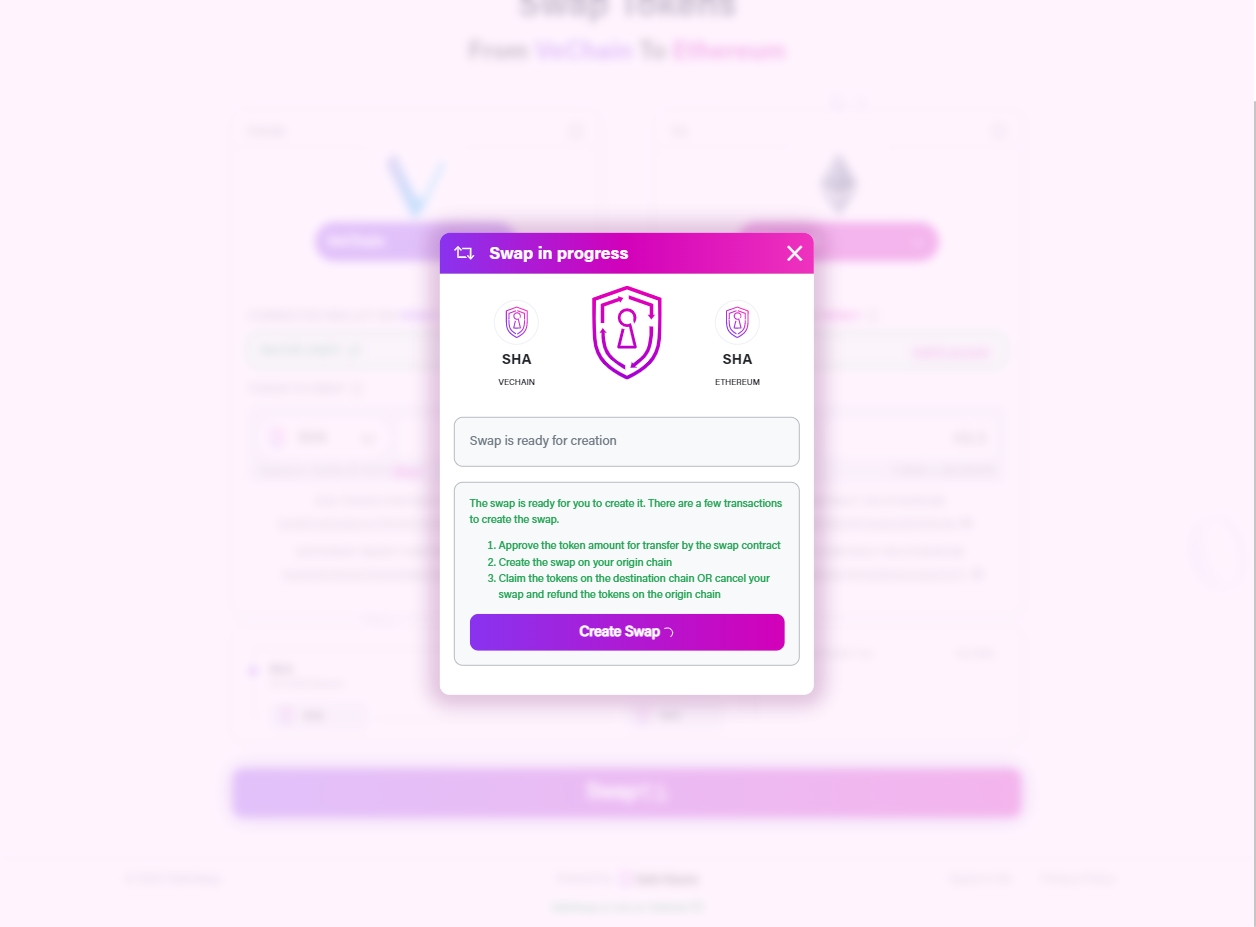
When the swap is ready for creation, click the big “Create swap” button to put the atomic swap protocol to work.
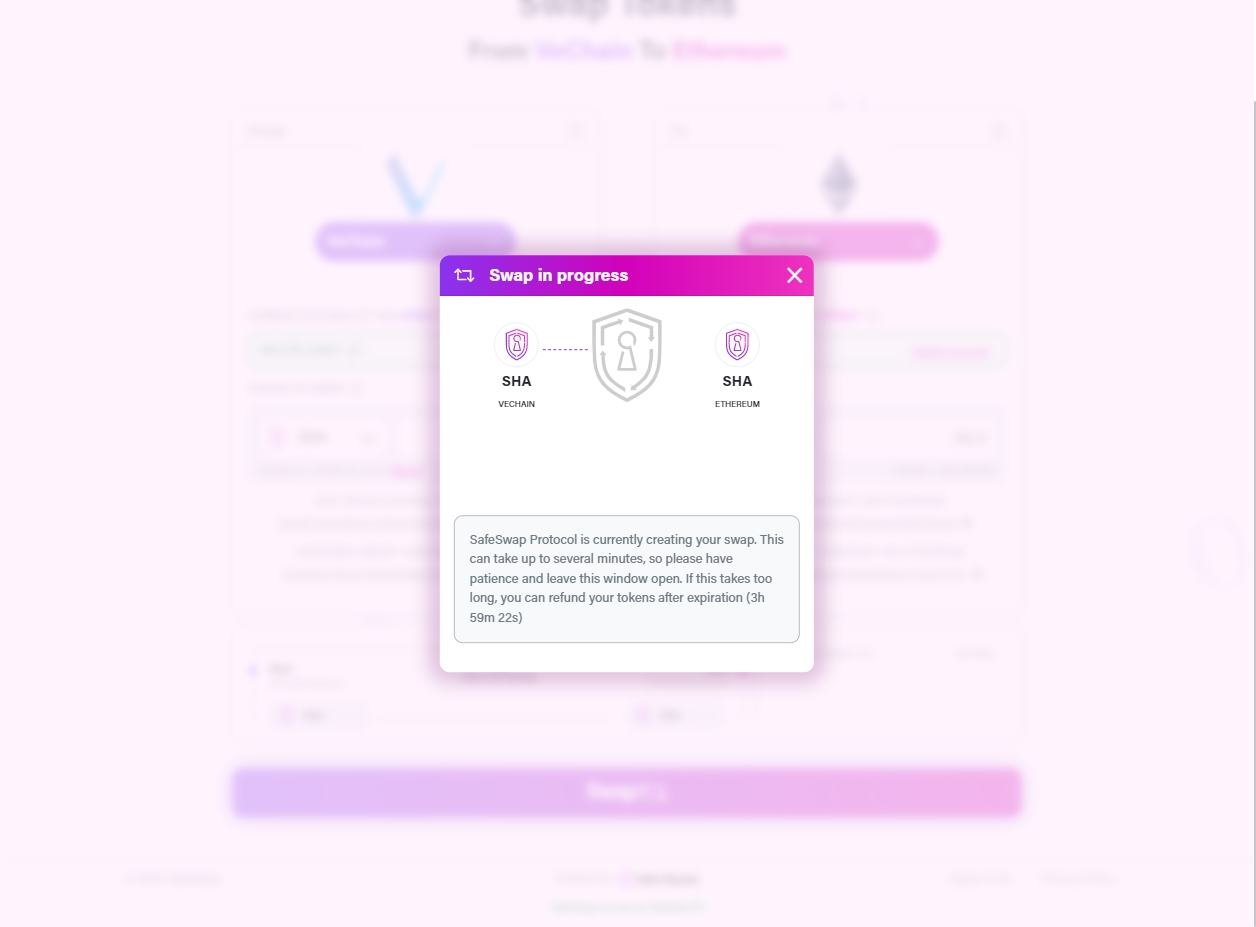
During the swapping process, which can take up to several minutes, you’ll have to keep SafeSwap open.
Patience is a virtue!
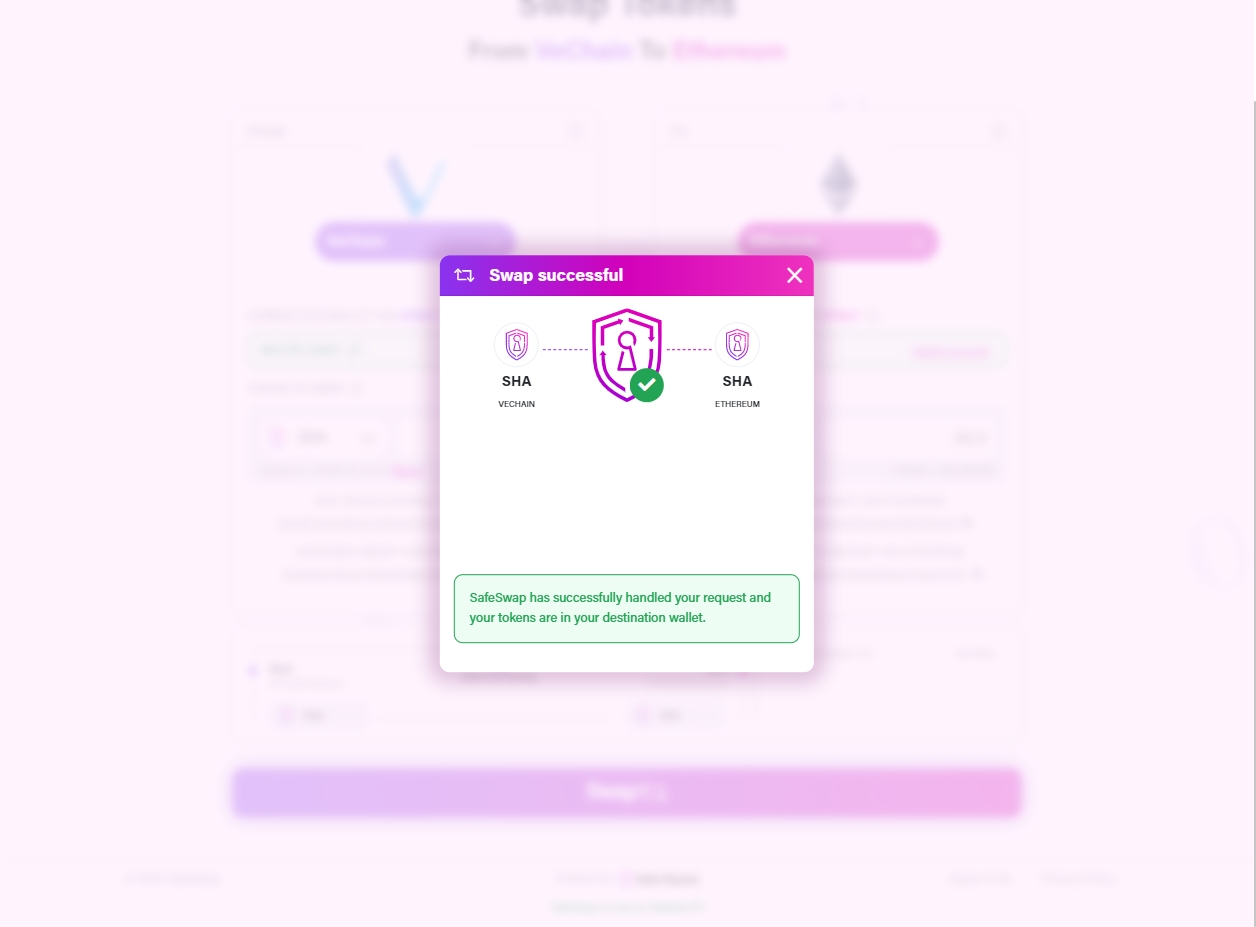
Once the atomic swap protocol of SafeSwap is ready with working its magic, we’re able to claim the tokens on the destination chain.

After claiming the tokens, all tokens will appear in the wallet that was selected as the destination wallet and the swap can be considered as a success.
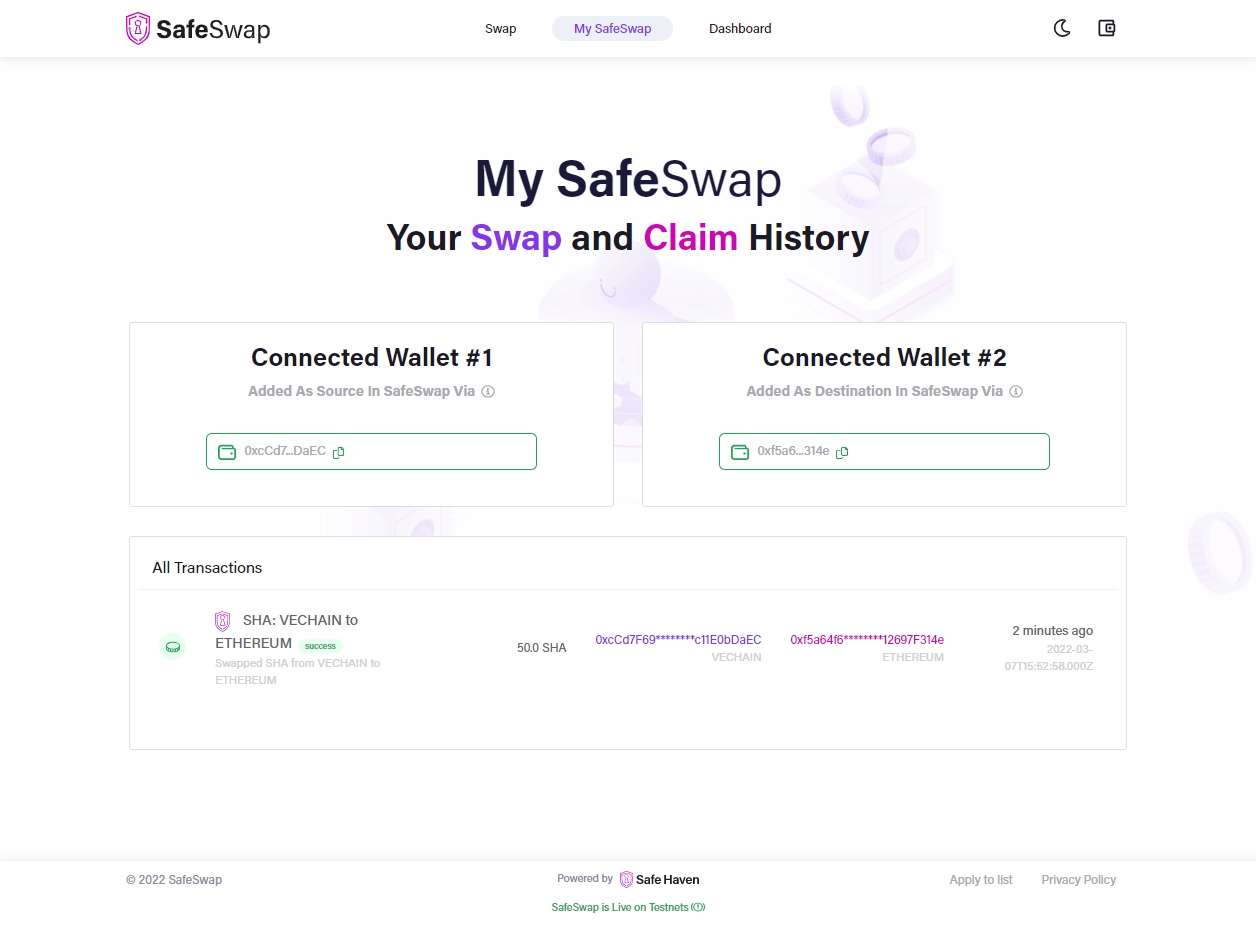
My SafeSwap
If you connect your wallets, you’ll get an overview of your swap and claim history via the “My SafeSwap” page.
What’s next?
To anticipate on the release and future growth of SafeSwap, we’ll have some ongoing marketing campaigns with extra focus on B2B activities. The goal here is to attract other blockchain projects with the need to go cross-chain and list their project on SafeSwap to make use of the revolutionary atomic swap protocol we’ve developed.
The first project that will be listed on SafeSwap -besides our own Safe Haven token SHA- will be announced in the coming days.
Stay tuned! 💪
Back to newsBlockchain Project Owner?
SafeSwap V1 will be supporting EVM chains like vechain, Ethereum, Binance Smart Chain and Polygon/Matic. If you’re a blockchain project owner and you’re feeling the need to take your project cross-chain, get in touch with us via our contact page, we might be able to help each other out and add value to each other’s project!